Email campaign and site specific user permissions
Add additional users to your Marsello account, which will give users their own login with access to create email campaigns only.
October 17, 2025
🏷️ SMS campaigns and automations are unlocked with the SMS add-on.
🏷️ Email campaigns and automations for marketing are unlocked with the Marketing add-on.
👾This feature is currently in Closed Beta 👾
If you are interested in email campaign and site specific permissions please contact our support team.
Add users to your Marsello admin with email campaign access and site specific access only. This will allow them to create email campaigns for their site(s) only and submit them for approval by the Marsello admin account holder.
📧 Email Campaign: This only allows users to create an email campaign. It must be approved before it's able to be sent. Once sent, users will be able to see their campaign results.
🛍 Site Specific: The customer database only displays customers who have made a purchase at your site(s) accessible to you.
Owner: Invite a user/staff member to your Marsello account
Users with owner permissions in Marsello can invite other members to their Marsello account.
1. In your Marsello admin, go to Settings > Account > Users and click Invite user
-2-1.png)
2. Enter the new user's details
-
Enter their full name
-
Enter their email address
-
Select the department / group they belong to
For example: Owner of a franchise, Marketing & Design team member etc.
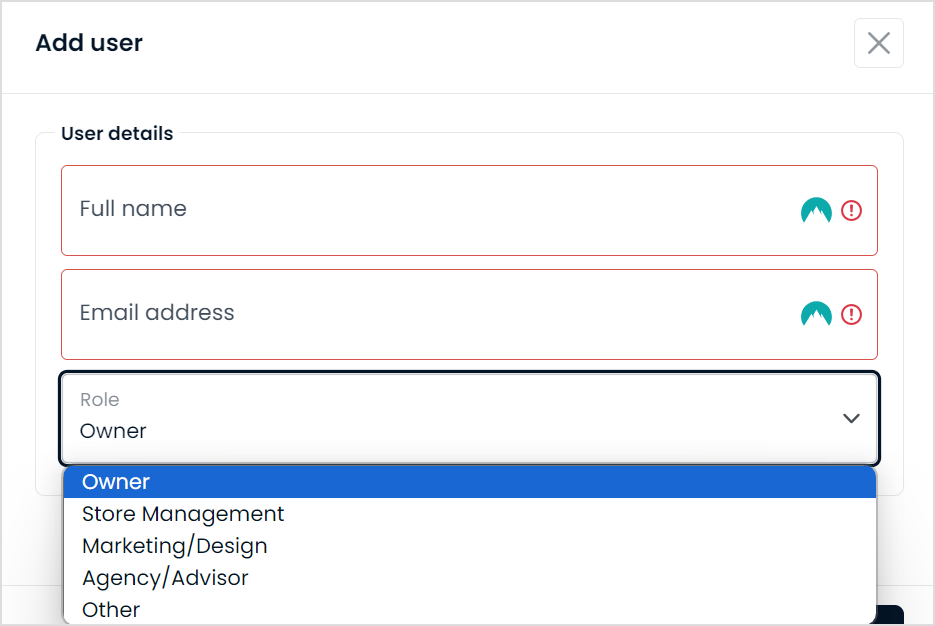
3. Select the new user's permissions
-
In the Access level drop-down, select Email campaign restricted
-
In the Accessible sites, select the site name(s) this user has access to
4. Click Send Invite
This will send an email invite to the person you've added to your Marsello account.
User: Create your account
As an invited user, you'll receive an email from the admin with a link to create your account.
1. In your email inbox, open the email "You have been invited to ".
2. Click Create your Account
3. Follow the Marsello prompts to create your account:
-
Enter your email address
-
Click send verification code
-
In your inbox, copy your unique verification code
-
Paste in your verification code
-
Click Verify Code
-
Click Continue
-
-
Create a password and confirm that new password
-
Click Continue
🔐 Password recommendations: For maximum security, we suggest creating a password that is at least 12 characters long and includes a mix of uppercase and lowercase letters, numbers, and symbols. Or to manage and store your passwords securely, consider using a reliable password manager.
This will then allow the user to access your Marsello admin, with the ability to access Customers, Analytics and Marketing > Email Campaigns.
🛍 Site restricted:
-
Customers: Your customer database only displays customers who have made a purchase at your site(s) accessible to you.
-
Analytics: Your reports will only display data of customers who have made a purchase at your site(s) accessible to you.
-
Email Campaign: You will only be able to create email campaigns for the site(s) accessible to you. You'll need the campaign to be approved before it can be sent.
User: Create an email campaign
As an Email Campaign Restricted user, you can create an email campaign ready to send to your site(s) accessible to you.
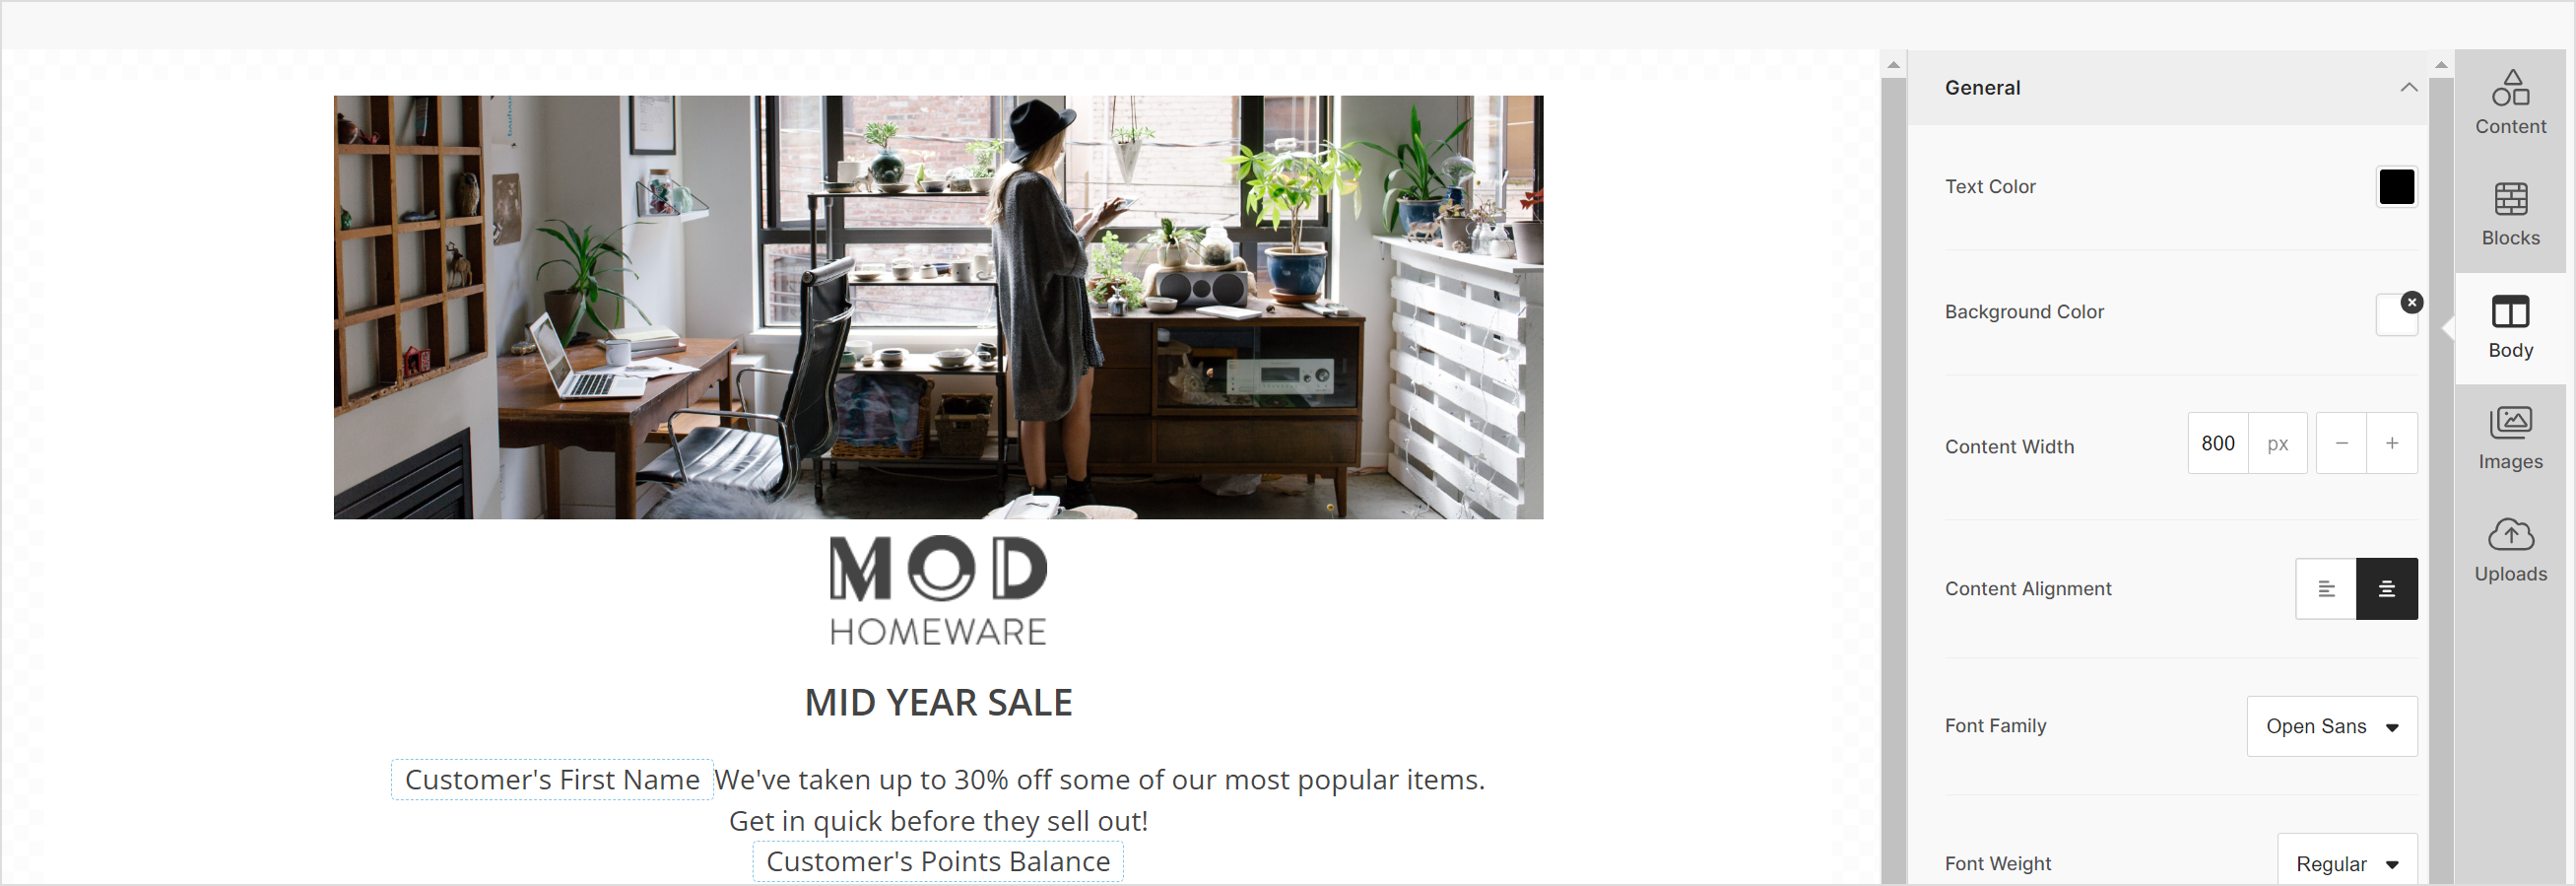
Design your email campaign
💡 Top Tip: As you craft your email campaign, be sure to click 'Save' regularly to preserve your progress and hard work in the template.
1. In your Marsello admin, go to Marketing > Campaigns > Email
2. Click Create campaign
3. In the drag-and-drop editor, right-hand navigation click Body option. This will allow you to update the global settings of your email template for example; font, font size, background colour etc.
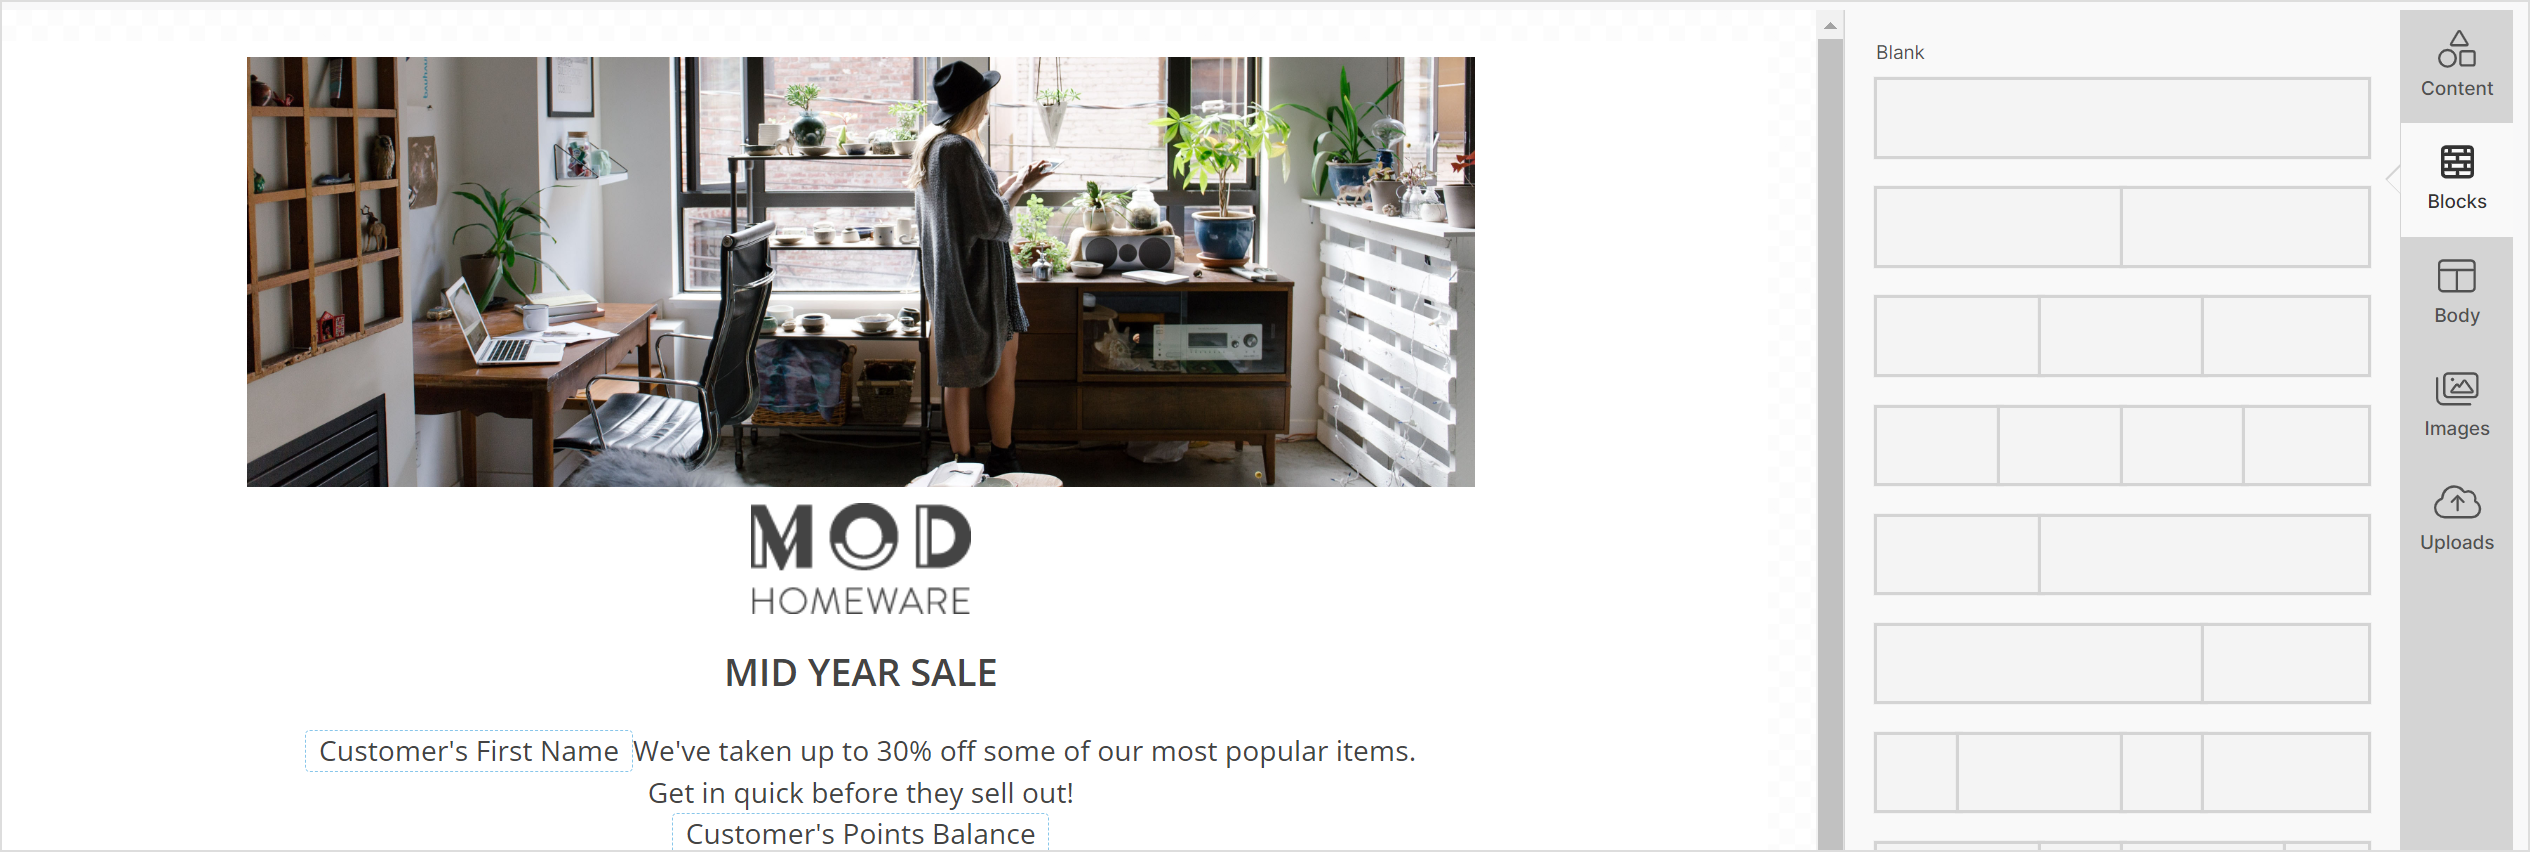
4. In the drag-and-drop editor, right-hand navigation click Blocks option. This will help you to create the layout of your email or drag-and-drop previously saved blocks.
5. In the drag-and-drop editor, right-hand navigation click Content option. This will help you to create the content of your email.
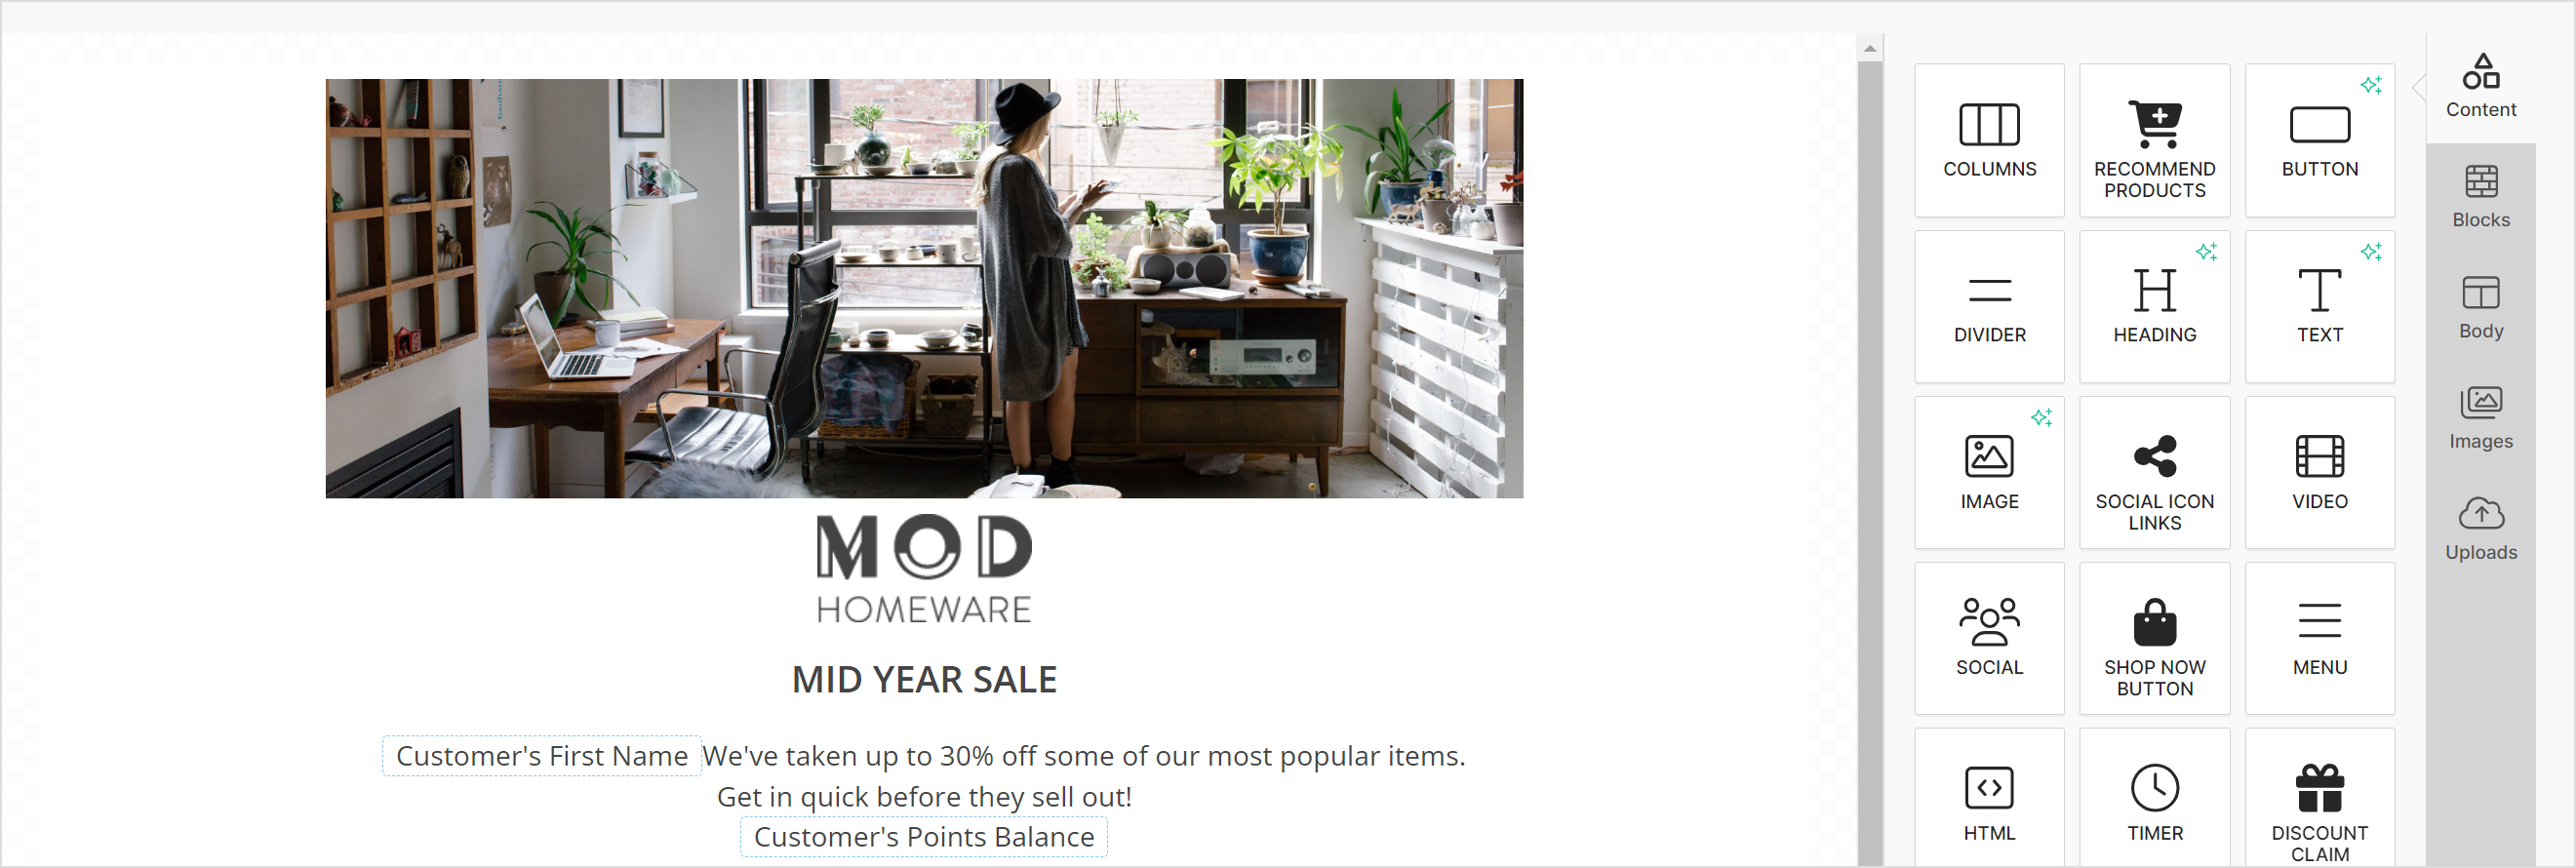
Type of content blocks you can choose from
-
Simple content blocks
-
Columns block
-
Button block
-
Divider block
-
Heading Block – Personalize your email content and include merge tags such as first name, loyalty points, VIP tier, and unique referral program link.
-
Text block – Personalize your email content and include merge tags such as first name, loyalty points, VIP tier, and unique referral program link.
-
Image block – Add campaign images or product images to your email content. You can also add effects to your images, e.g. text overlay from the block settings.
-
✨ AI Magic Tool: Look for the "✨" icon in the top right corner of content blocks. These blocks offer AI-powered features to enhance your content creation. Options include generating button text, creating AI images from keywords, and more.
-
Advanced content blocks:
-
HTML Block – use HTML code to build your email from scratch
-
Menu Block – add in your store's menu links for easy shopping with minimal clicks required
-
Store Logo block – Auto add your store's logo from the Marsello Admin user's email settings.
-
Social Icons – Auto add your store's social media links from the Marsello Admin user's email settings. Or you can update these yourself.
-
Product block – Showcase a specific product from your brand to your email content
-
Video block – Add a video URL to embed a hosted video in your email content
-
Discount block – Add a discount to your campaign to incentivize customers to shop again. This will automatically create discount codes in all store's connections (eCommerce and/or POS) that your customers can use either online or in-store. Please note: Discount codes are unique and can only be used once.
-
Shop Now (eCommerce only) – Link your customers' directly to the home page of your online store
-
Product recommendations block – Increase order value with recommended products for each customer based on their previous purchases and other customers just like them.
-
Timer Block – Create a sense of urgency by adding a countdown to an important date like a sale or amount of time left to redeem a discount.
-
Draft email campaign example:

Send an email campaign preview
7. [Optional]: Click Send Preview to send a test email to yourself
To preview your email design in your inbox, you can send a test email at any time. Before using this feature, remember to click Save to make sure your latest design changes are included in the preview. To do this:
-
Click Send Preview
-
Enter your email address
-
Click Send Preview
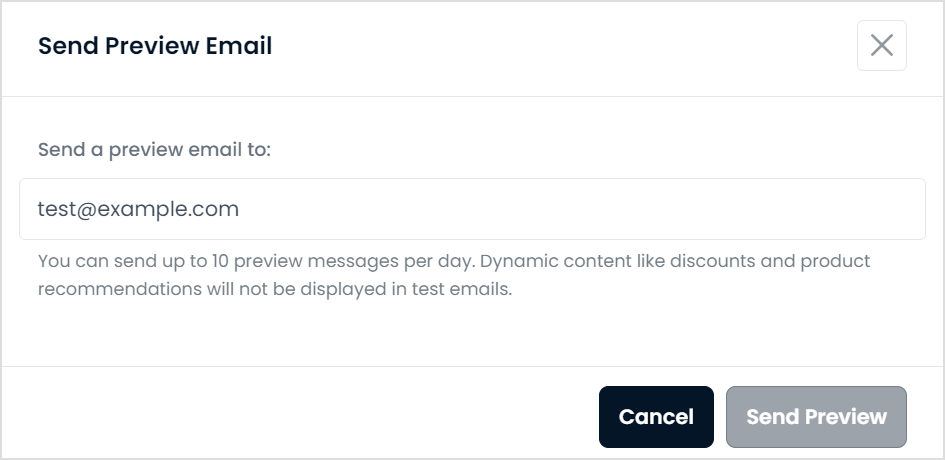
This will send a test of your email campaign to your entered email address.
⚠️ Important: Dynamic email content like discounts and product recommendations will not be displayed in test emails. Test emails are designed to preview the design and proofread the content only.
8. Once you have completed your design click Save & Continue to Settings.
Update your email campaign settings
9. Enter your Campaign name. This campaign name is internal only and is to help you identify your campaign in the Campaigns dashboard. This campaign name will also display for the Marsello Admin user's campaign dashboard.

10. Enter your subject line

💡 Quick tip: Have a clear and concise subject line. Tell your customers why they are receiving the email and the value they'll get from opening it. This will encourage customers to open your emails and read what's inside.
11. Confirm your Sender Name & Sender Email Address
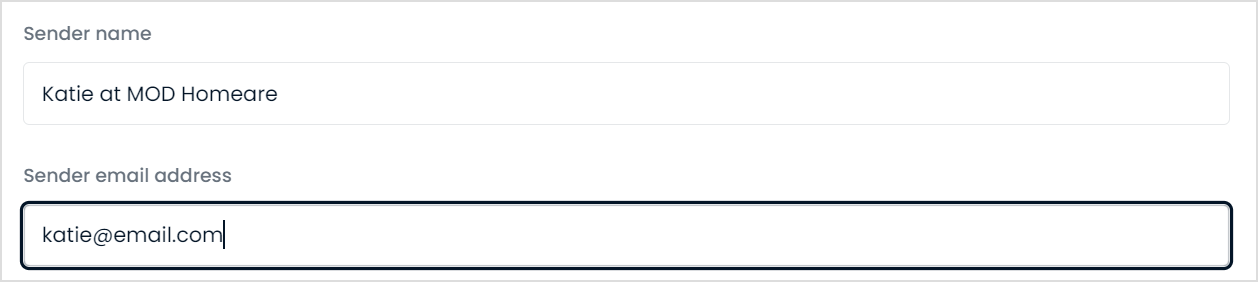
💡Quick Tip: To build customer trust, use your store's name as the Sender name in your emails. This lets recipients know it's you and reinforces your brand identity.
12. Review Boost Your Campaign (optional)
Enhance your email campaign's reach with the Boost Campaign feature. This option allows you to automatically resend your campaign 48 hours after the initial send, targeting only those recipients who haven't opened your email. To do this:
-
Select the checkbox to automatically resend your campaign to customers who haven't opened the campaign after 48 hours
-
Enter a new subject line to re-capture your customers' attention

13. Review your campaign's audience.
This has been pre-selected based on the site(s) that you have access to, only Marsello admin users can update Audience settings.
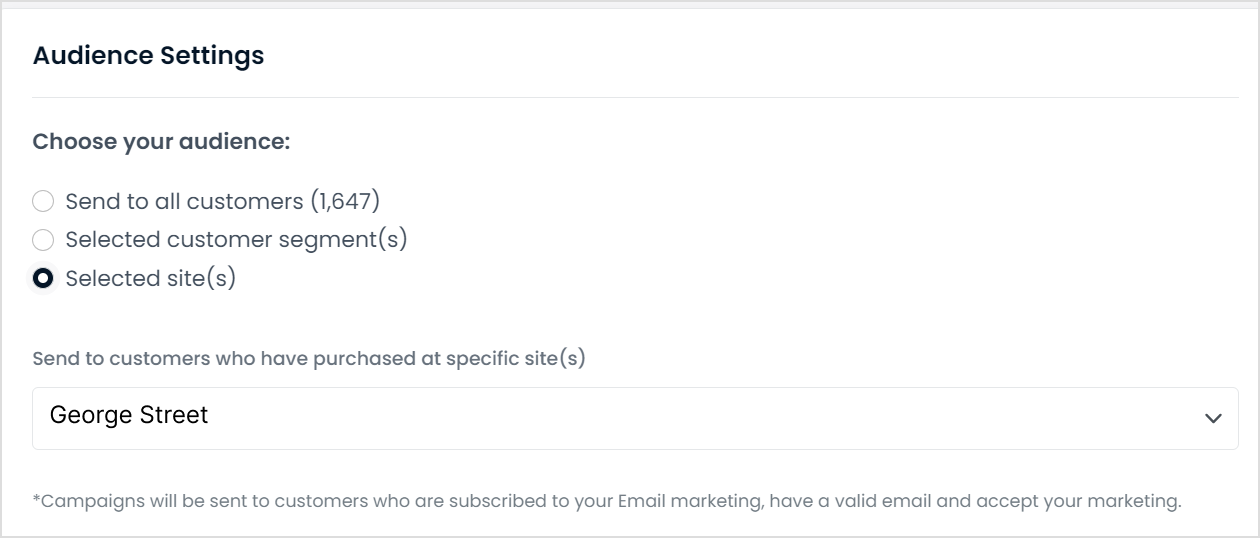
⚠️ Important: Your email campaigns will be sent only to customers who have a valid email address and are opted in/subscribed to your email marketing.
14. Once you have completed your email settings, click Save & Continue to Review.
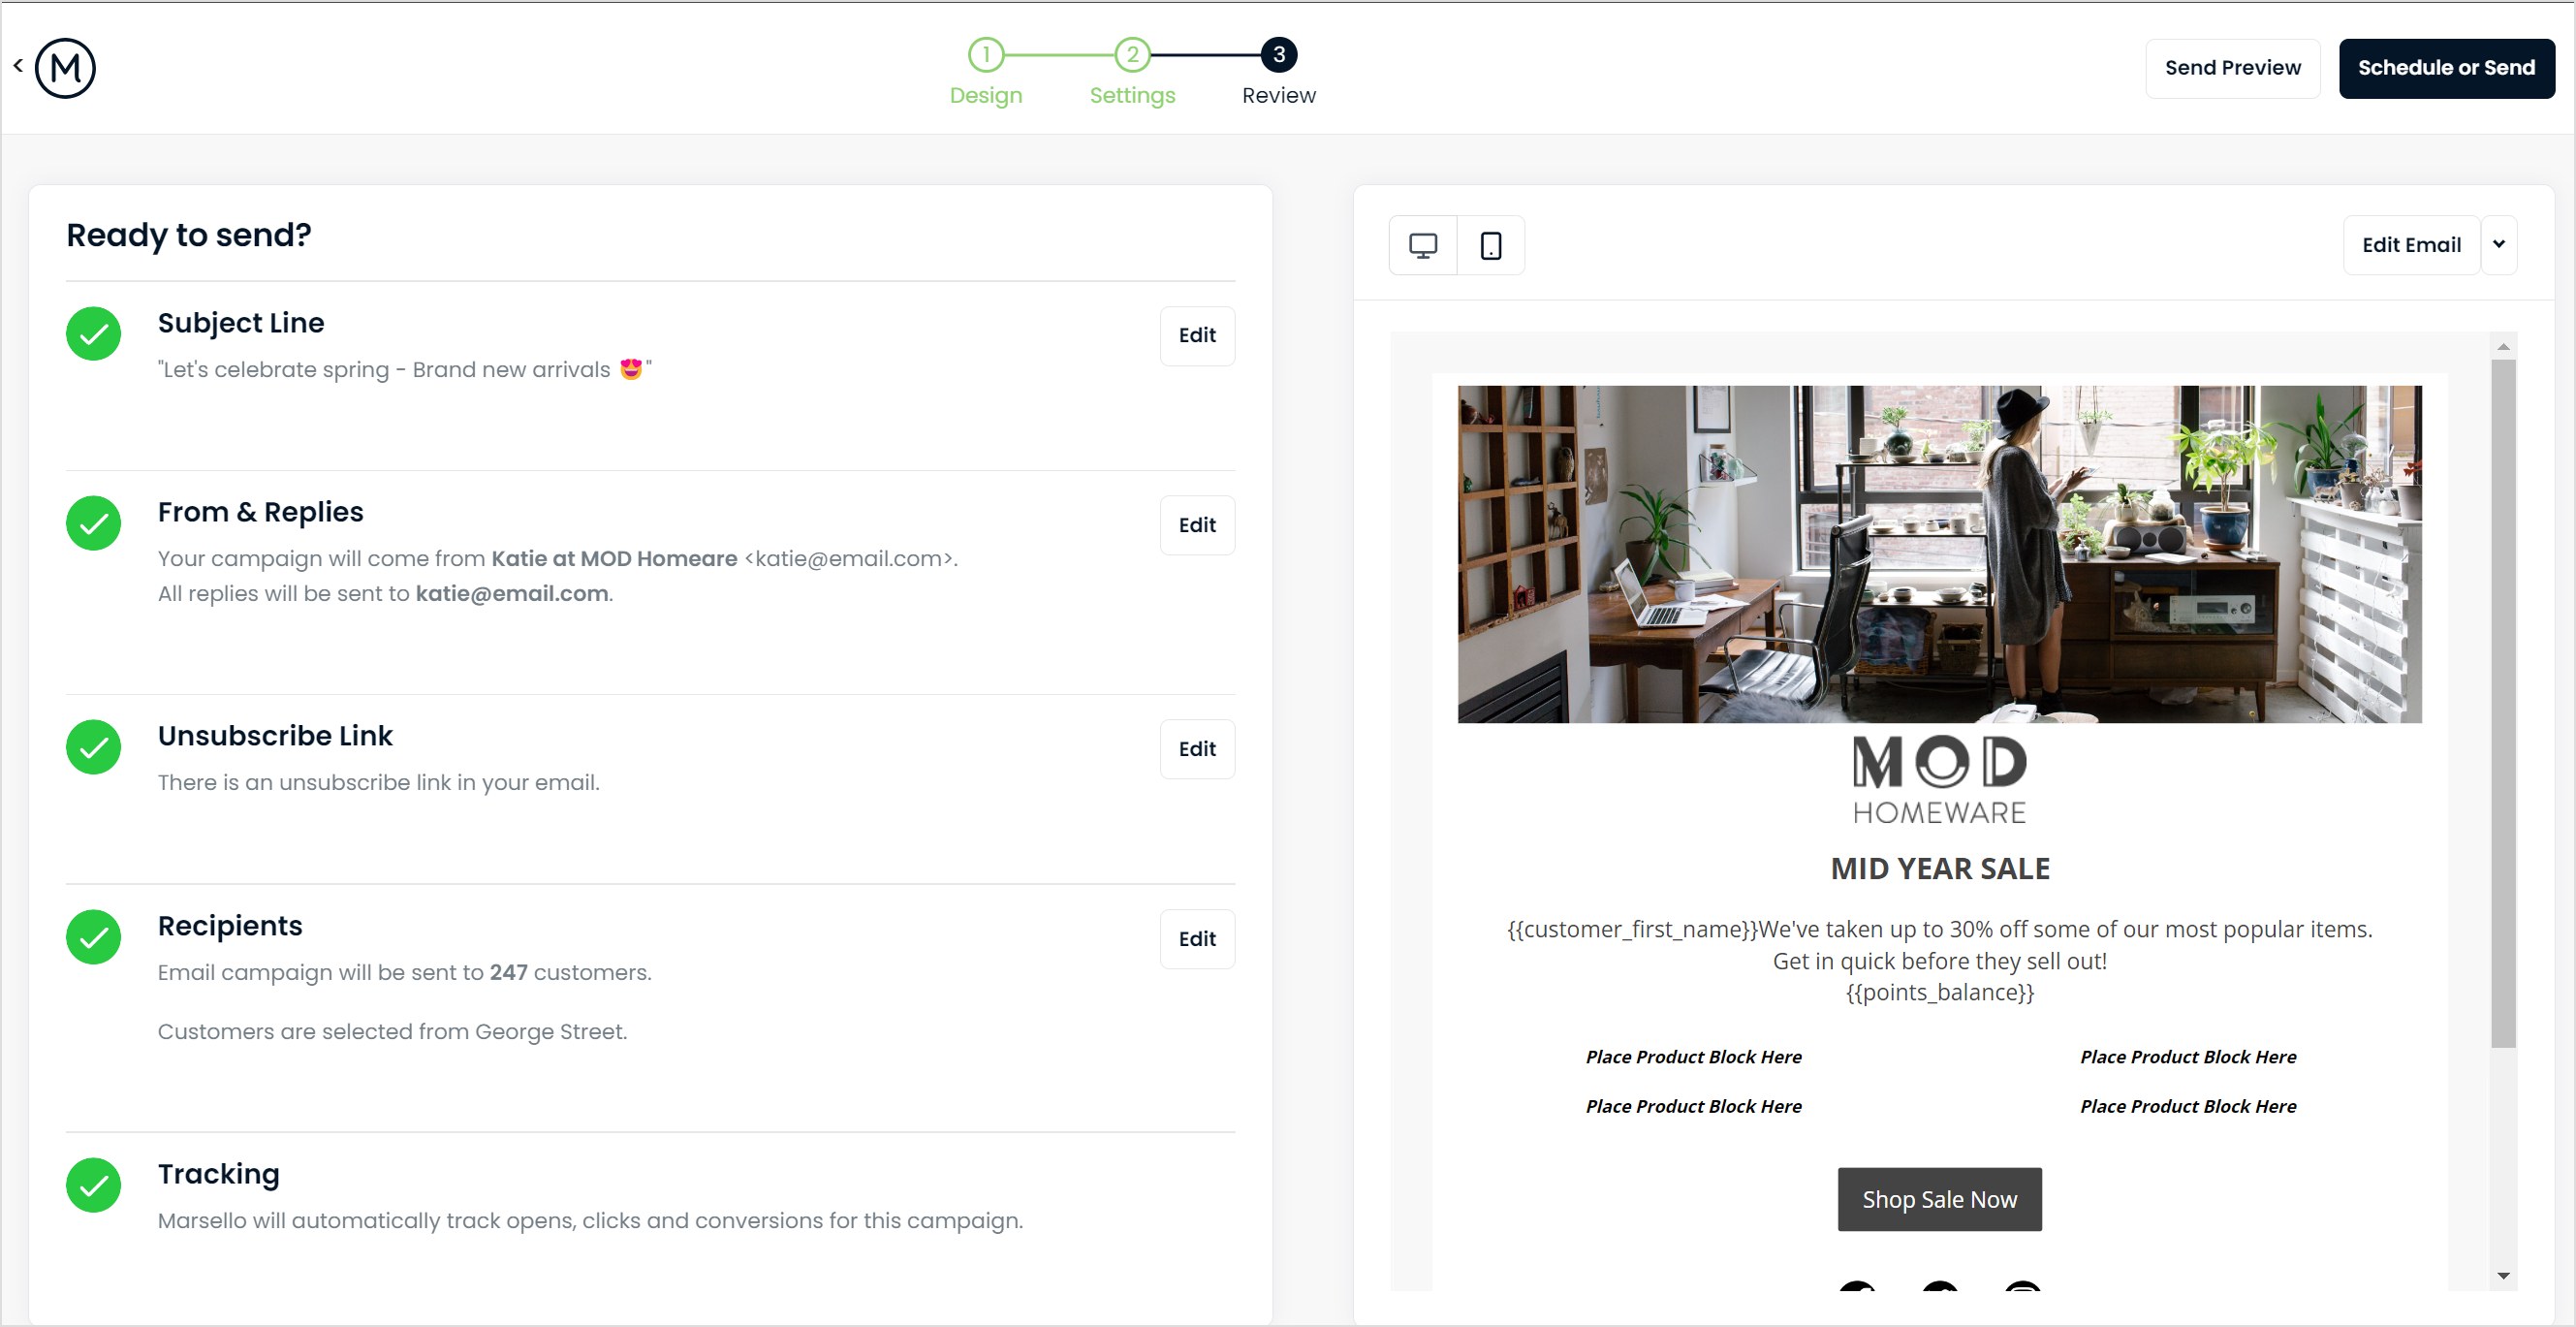
Review & Submit Your Email Campaign for Approval
Before launching, carefully review your email campaign. Once you’re satisfied, you can submit it for admin approval to ensure it meets all brand guidelines and standards.
15. Review all of your settings & email content
16. Click Schedule & Submit for Approval
17. Select your desired date and time you'd like your email campaign to be sent.
18 Confirm by clicking Schedule & Submit for Approval
⚠️ Important: Please allow ample time for the Admin user to approve your email. We recommend submitting for approval at least 3 days before the scheduled send date.
This campaign will now be submitted for the Marsello admin user's approval. They will be notified by email that your campaign is ready for approval.
💬 Communication: We recommend also notifying the admin that your campaign has been submitted for approval yourself, in your email add any additional notes or considerations that you'd like double checked.
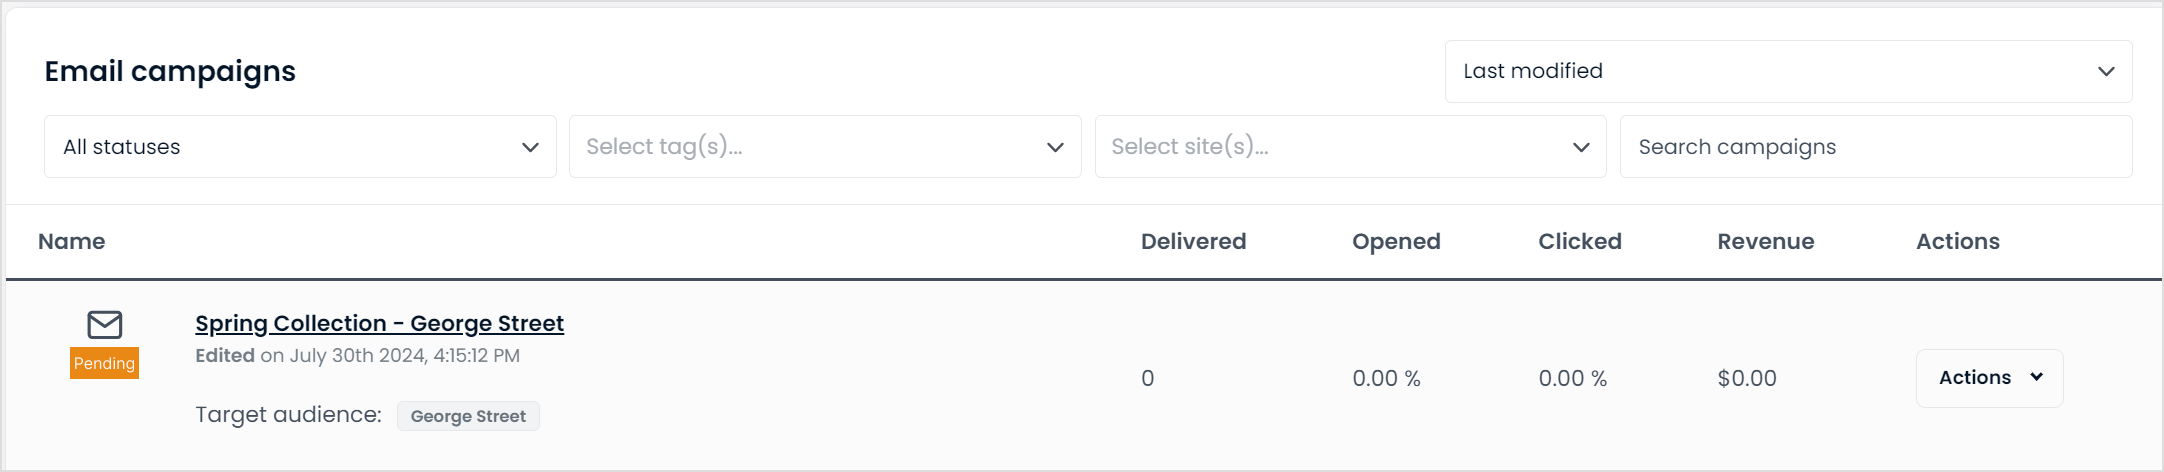
You email campaign will display a "Pending" label until it is approved by the Admin user.

Admin: Approving email campaigns
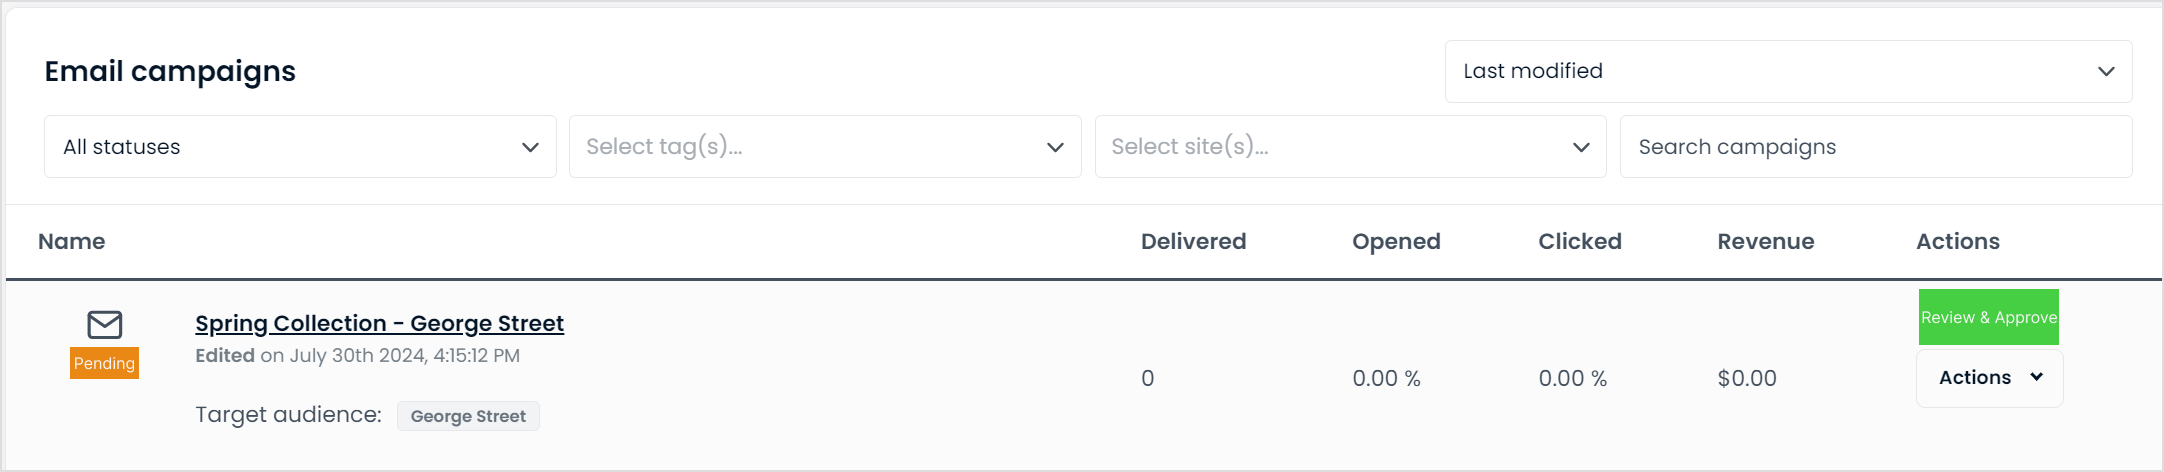
When a user creates an email campaign, it will be submitted for the Admin user's approval. You will receive an email notification requesting your approval, and you can also view the email campaign on your Email Campaigns dashboard.
-
Email subject line: "Campaign approval request from "
-
Email 'Pending' approval: You'll be able to see a "Review & Approve" button.
To approve the user's email campaign
1. Click Review & Approve
This will lead you to the 'Review' step of the campaign creation process.
Here you can review & edit:
-
Subject Line
-
From & Reply emails
-
Unsubscribe Link (ensure it's visible)
-
Recipients - how many customers will receive this email and what site(s) they are sending to
-
Tracking - utm tracking if used or will be blank
-
Email content - to see a full preview, next to Edit Email, click the Arrow and select Preview Email
-1.png?width=670&height=195&name=image%20(1)-1.png)
-1.png)
2. Make any adjustments/updates to the above as needed.
As you are the admin user, you are able to update any of the settings and content of the campaign.
3. Click Send/Schedule (Optional)
If you need to check the scheduled date & time or update the scheduled date and time, click the Send or Schedule button if required.
4. Once you're happy, click Approve
5. Click Yes, approve this campaign to confirm.
This campaign will now be approved ready to send to the segment of customers. The user will be notified by email that you've approved their email campaign.
💬 Communication: We recommend also notifying the user that their campaign has been approval yourself, in your email add any additional notes or updates that you've made.
The email campaign will now display as "Scheduled" label until the date/time it's scheduled to send.
How it works – Your customers' experience
When the customer receives the email campaign, they'll be able to open it and engage with your content, such as:
-
Text block merge tags – This will populate the content specific to the customer e.g. First name = Danielle, Points balance = 1506, VIP Tier = Gold Star
-
Discount block – The customer will see a Claim Code button which they can click to claim their unique discount code to use on their next purchase.
-
Product recommendations block – The customer will see unique products based on their purchase history and customers just like them.
If the customer decides they no longer want to receive email campaigns from your business, they can click the unsubscribe text link at the bottom of your email. They can then choose the types of emails they would like to unsubscribe from. This will then automatically update their Marsello customer profile and remove email as an available channel to contact the customer.
Admin & User: Review email campaign reporting
Both the Admin user & email campaign user will be able to view and track email campaign performance.
The individual email campaign dashboard displays a high-level overview on how the email campaign performed, and you can also click into the reporting to see a further breakdown. With these analytics, you will be able to make effective changes and iterations to your email campaign strategy.
Statistic Definitions:
📝 Note: All of these statistics are measured against the selected timeframe.
-
Campaigns sent: Total number of one-off email campaigns that have been sent.
-
Emails sent: Total number of emails that have been sent as part of one-off email campaigns.
-
Delivery rate: The delivery rate (%) of your one-off email campaign that was sent.
-
Open rate: The open rate (%) of your one-off email campaign that was delivered.
-
Unique clicks: Total number of unique customers who have clicked on at least one email campaign.
-
Click rate: The click rate (%) of your one-off email campaign that was opened.
-
Email Campaigns revenue generated: Total amount of revenue that is directly attributed to your one-off email campaign.
-
New orders generated: Total amount of orders that are directly attributed to your one-off email campaign.
Brands also searched: camkp