-1.svg)
A loyalty program rewards customers for shopping with you. It encourages them to come back and spend more. This guide walks you through the three steps needed to set up your loyalty program.
🏷️ Marsello loyalty features are available on all pricing plans.
Terms you'll see in this guide
- Earn points – actions that give customers loyalty points, like making a purchase.
- Rewards – what customers redeem their points for, such as a discount.
- Brand settings – where you set your logo, colors, fonts, and imagery. These apply across your emails, Customer Portal, and forms.
What are the steps to create my loyalty program?
Setting up your loyalty program is as easy as 1, 2, 3!
Step 1: Choose how customers earn points
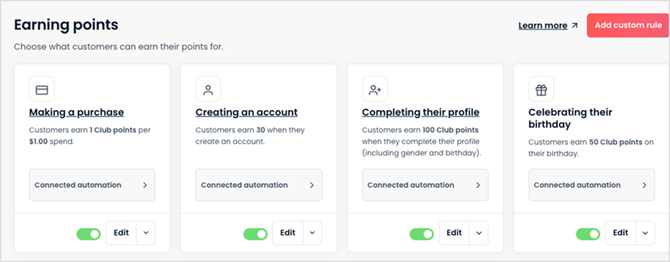
Marsello offers 12 different earn options for you to chose from. These include making a purchase, creating an account, completing a profile and celebrating a birthday.
To enable earn options, go to Loyalty > Points Program > Earning in your Marsello admin.
By default, all earn options except for Making a purchase are disabled. Toggle the on/off button to on for each option you'd like to offer.
To change how many points an action is worth, click Edit next to that earn option.
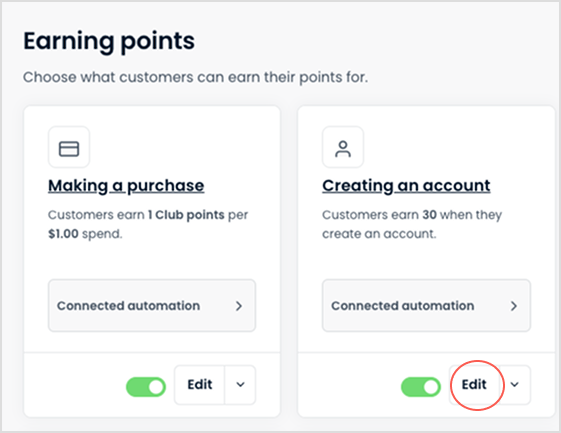
⚠️ Important: The Making a purchase is required to enabled loyalty. This cannot be toggled off.
💡 Tip: Start with at least 3 earn options enabled.
Step 2: Create rewards worth earning
Meaningful rewards keep customers engaged, build loyalty, and encourage repeat visits. You'll create them from the Rewards page in your Marsello admin, under Loyalty > Redeeming.
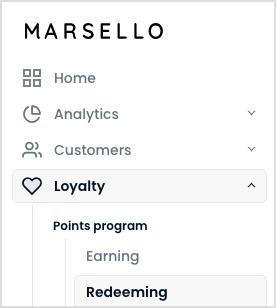
💡 Tip: Set each reward's point cost to about 3 times your average order value. This keeps rewards motivating and achievable. It also stops customers from redeeming too quickly. For example, if your average order value is $50, price a reward around 150 points.
Step 3: Brand your loyalty program
Your loyalty program should look and feel like your store, not like a generic add-on. Set your brand's look and feel in three places:
1. Upload your logo, set your brand colors, and add a custom font. These settings carry over to your emails, Customer Portal, and forms automatically. You'll find them under Customer Experience > Brand > Visual.
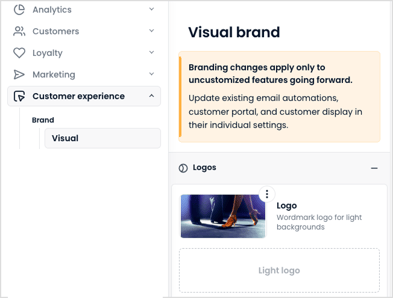
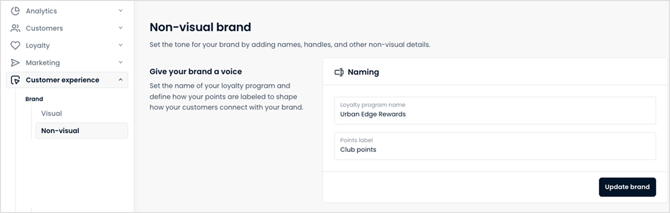
2. Customize non-visual details, like giving your loyalty program its own name instead of a generic label. You'll find these under Customer Experience > Brand > Nonvisual.
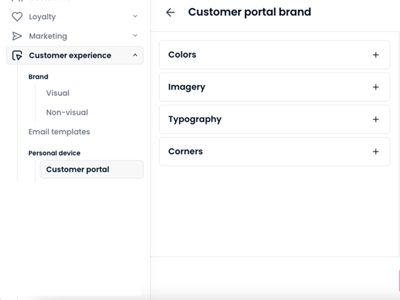
3. Fine-tune your Customer Portal specifically — colors, logo, banner image, font, and corner styling. You'll find these settings under Customer Experience > Personal Device > Customer Portal > Brand.
📝 Note: Changes preview in real time. Click Publish changes when you're ready to make them live.
What's next?
Once you complete all three steps, your loyalty program is set up — but it's not live yet. The next step is the Launch Checklist, where you'll learn how to train your staff, activate the program, and publish it to customers.